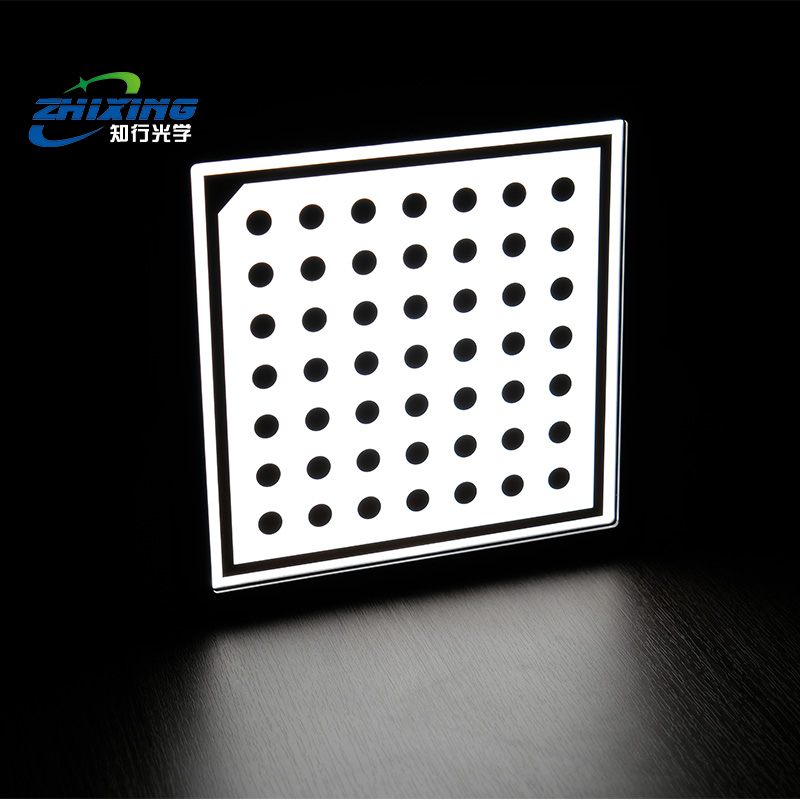
I. Pre-Use Preparation
1. Confirm Calibration Target Parameters
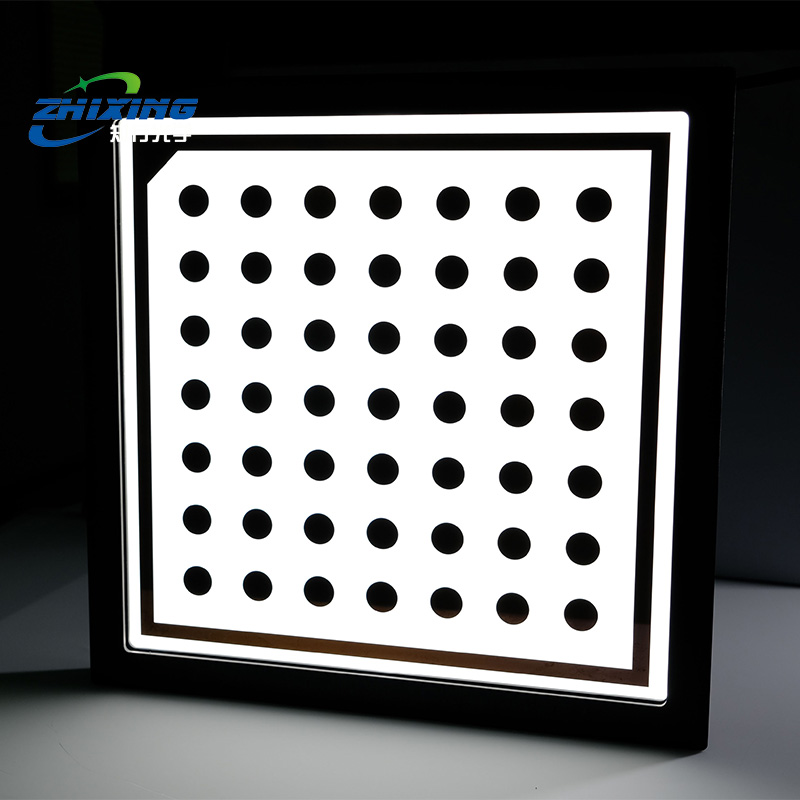
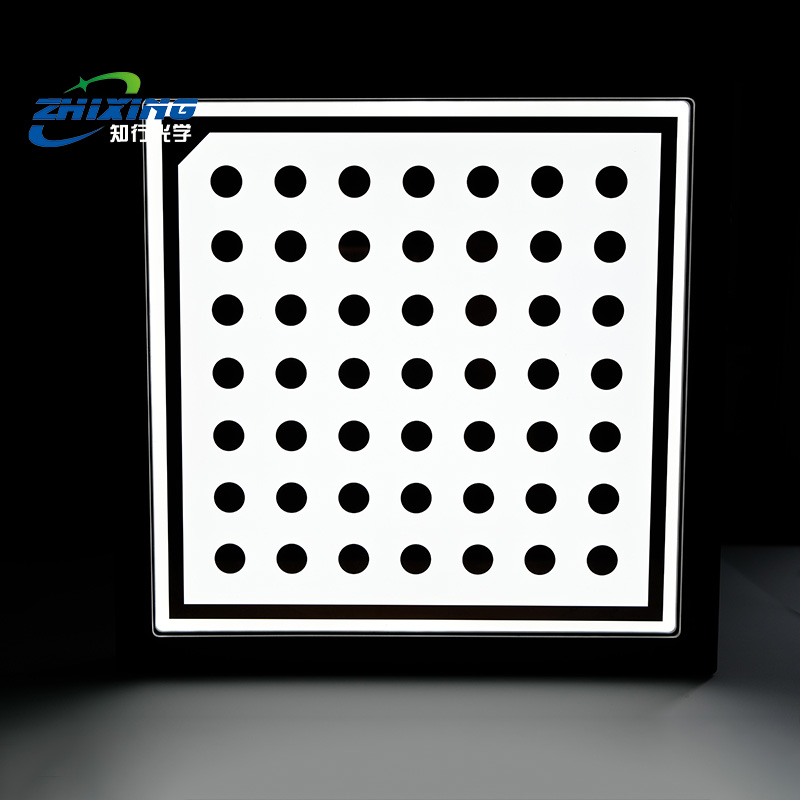
Record Physical Dimensions: Document feature spacing (mm) for chessboard/circle patterns, number of rows and columns, and diameter of luminous dots.
Verify Illumination Mode: Confirm continuous/strobe operation, monochrome/color output, and adjustable brightness range.
Check Power Supply: Verify voltage, current, and connector type (DC/USB/battery).
2. Cleaning & Mounting
Gently wipe the active luminous surface with a lint-free cloth; strictly avoid fingerprints, dust, and scratches.
Secure the target using a stand or fixture to ensure absolute flatness, with no vibration or tilt.
3. Camera / Equipment Setup
Mount the camera securely; disable autofocus, auto-exposure, and auto white balance, and switch to full manual mode.
Lock focal length, aperture, ISO, and shutter speed; keep all settings unchanged throughout the entire process.
Ensure the lens is clean, free of oil smudges and dust.
4. Ambient Light Control
Turn off strong ambient lighting to prevent reflections, shadows, or stray light from falling on the calibration target.
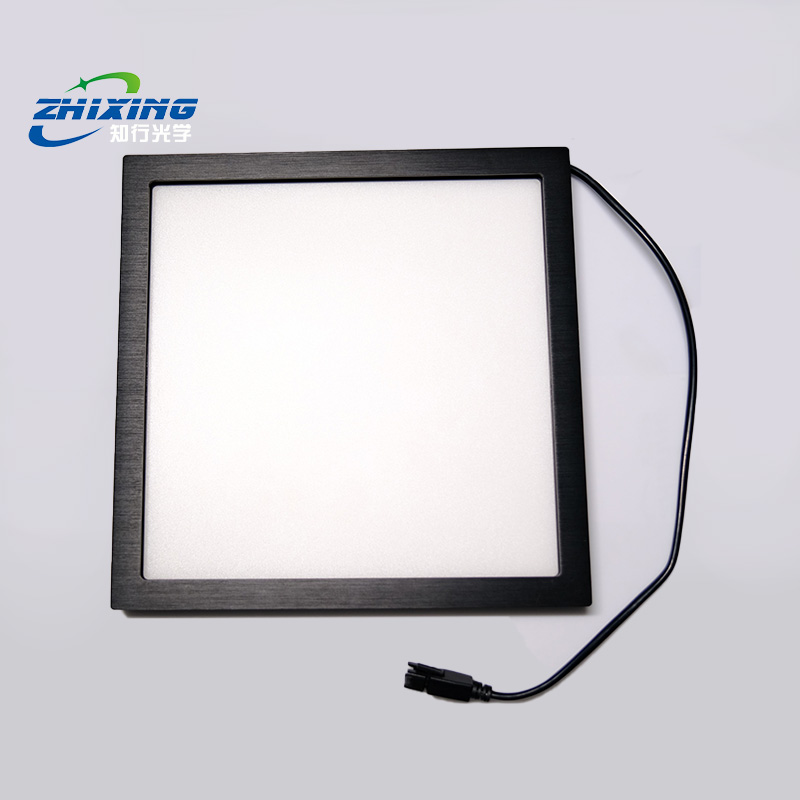
Self-Illuminated Target Advantage: No external lighting is required; the built-in illumination alone produces high-contrast images.
II. Standard Operating Procedure
1. Power-On & Brightness Calibration
Connect power and allow a 1–3 minute warm-up period until brightness stabilizes.
Adjust brightness based on the camera preview: luminous features must be sharp-edged, clearly visible, and neither overexposed nor underexposed.
For strobe mode: synchronize with the camera frame rate to eliminate motion blur.
2. Image Acquisition
With the camera fixed in place, move or rotate the calibration target to capture 15–25 sharp images across diverse poses:
Full FOV Coverage: Position the target at center, top, bottom, left, and right regions of the frame.
Multi-Angle Tilts: Apply small rotations around X/Y/Z axes (±15°–±30°) to provide robust 3D constraints.
Variable Distances: Capture near-field (filling the frame), mid-range, and far-field (occupying 1/3–1/2 of the frame) shots.
Per-Image Quality Requirements:
All luminous features are complete, sharp, blur-free, and unbroken.
No reflections, shadows, or overexposure.
The entire calibration target remains fully within the frame without cropping.
3. Software Calibration Computation
In calibration software (e.g., OpenCV, MATLAB Calibration Toolbox, Halcon, or industrial vision platforms):
Select the self-illuminated target type (chessboard / circle grid / dot array).
Input physical parameters: feature spacing, row/column count, and unit (mm).
Import all captured images; the software automatically detects centers of luminous dots or corner points.
Run calibration to output:
Intrinsics: Focal length, principal point, distortion coefficients (radial/tangential).
Extrinsics: Rotation and translation vectors for each image.
Reprojection Error: Lower values indicate higher calibration accuracy.
4. Result Validation & Application
Apply undistortion to new test images using the calibrated parameters; verify that straight lines appear perfectly straight with no curvature.
Validate measurement accuracy using an object of known dimensions.
Save the calibration parameter file for subsequent measurement or 3D reconstruction tasks.