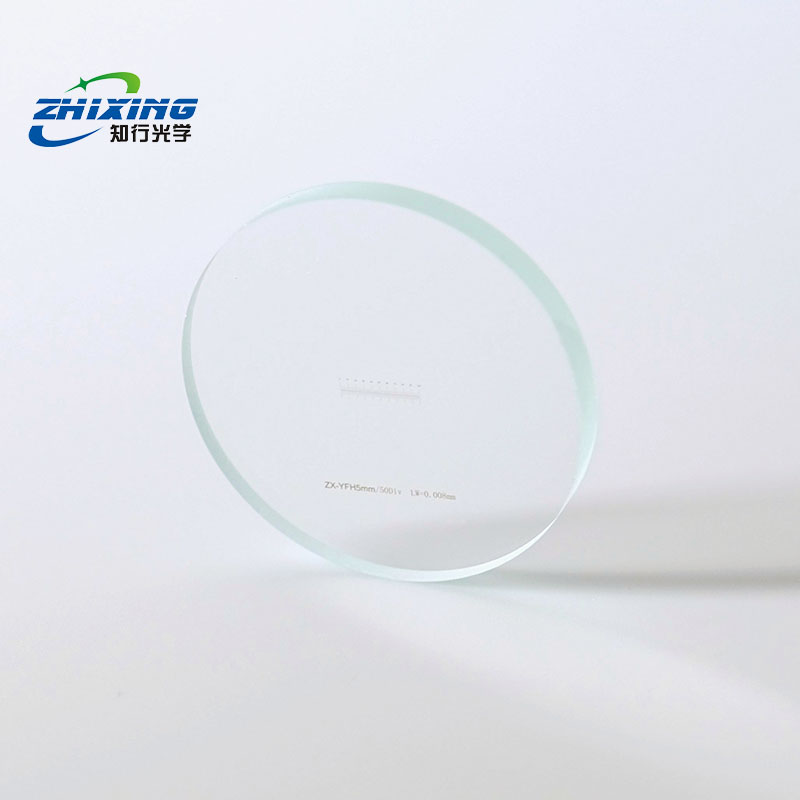
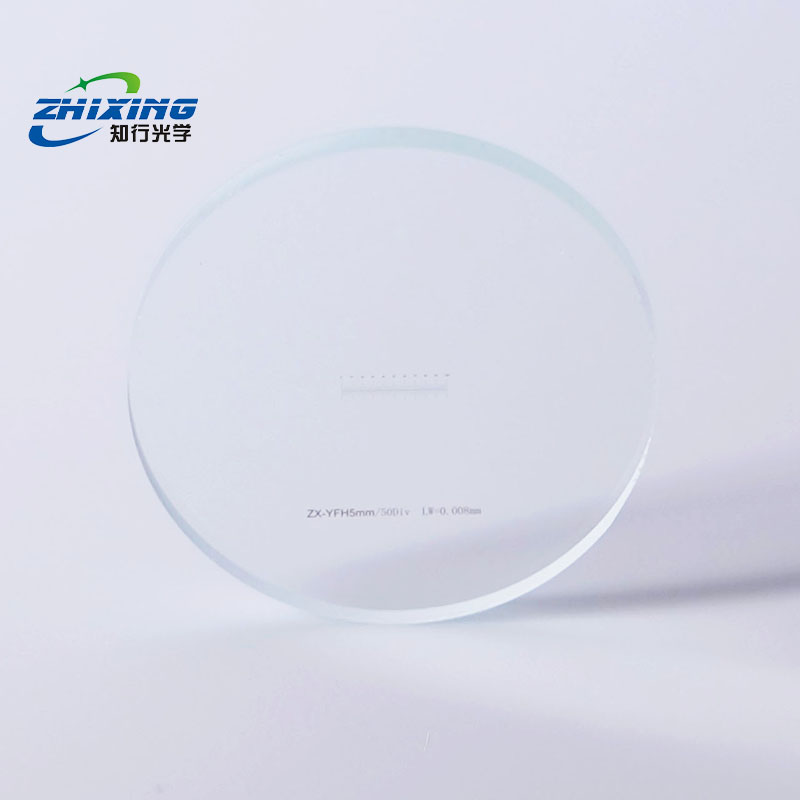
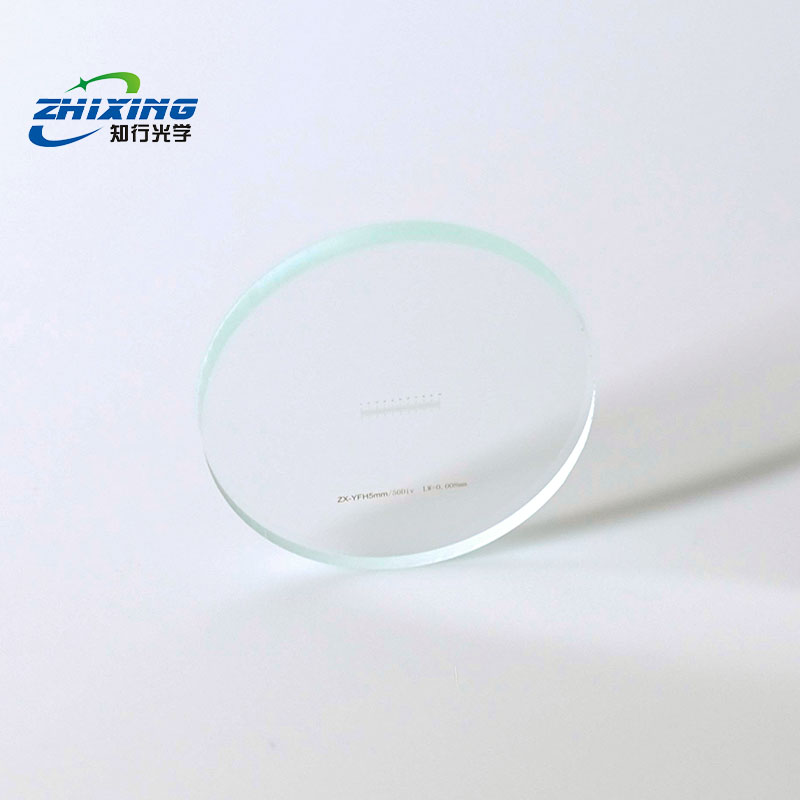
A stage micrometer is an absolute, high-precision calibration standard with physical dimensions traceable to national or industry standards. Its sole purpose is to serve as a "standard reference ruler" placed on the microscope stage to calibrate the scale factor of an eyepiece reticle or the pixel-to-distance ratio in microscope imaging software (e.g., measurement cameras).
Step 1: Cleaning and Placement
Surface Inspection: Before use, remove loose dust from the glass surface using an air blower bulb. If fingerprints are present, gently wipe in one direction using absorbent cotton moistened with a small amount of absolute ethanol. (Do not rub the etched area vigorously.)
Stage Placement: Place the stage micrometer on the microscope stage with the scale side facing up. Secure it with the stage clips so that its position is identical to that of a standard specimen slide.
Focusing: Focus sequentially from low to high magnification until high-contrast black scale lines are clearly visible in the center of the field of view (or on the monitor screen).
Step 2: Alignment and Calibration
Select the appropriate calibration method based on your measurement setup:
Option A: Manual Calibration with an Eyepiece Reticle
Rotate the eyepiece or move the stage until the "0" line of the eyepiece reticle aligns perfectly with the "0" line of the stage micrometer.
Look to the right to find the next point where the lines of both scales coincide exactly.
Calculate the single-division value:
Actual length per eyepiece division = Total actual length on stage micrometer within the interval / Total number of eyepiece divisions within the interval
Option B: Digital Calibration with Microscope Measurement Software / Industrial Camera
Open the "New Calibration" module in the microscope imaging software.
Draw a digital measurement line (or crosshair box) on the screen and align it precisely with a known length segment on the stage micrometer (e.g., a 1 mm section).
Enter the actual physical dimension of this segment in the software dialog box (e.g., input 1000 micrometers).
Click Save. The system will automatically convert the current "pixel count" into "actual micrometers," completing the scale setting.
Step 3: Removal and Sample Replacement
After calibration is complete, remove the stage micrometer from the stage and return it to its dust-proof storage case.
Without changing the microscope objective magnification, camera resolution, or zoom focal length, place the actual specimen slide to be measured onto the stage.
At this point, multiply the number of divisions read on the eyepiece reticle (or the line drawn in the software) by the calibration factor determined in Step 2 to obtain the true physical dimension of the specimen.
Strict Maintenance and Storage Precautions
Never change objective magnification during calibration: Every time the objective lens is changed (e.g., from 10× to 40×), the stage micrometer must be placed back on the stage for recalibration.
Moisture-proof, mold-proof, and scratch-proof: Stage micrometers are manufactured using high-precision physical etching processes. After use, they must be promptly returned to a dry, sealed, dedicated protective case. Strictly avoid contact with hard objects or chemical acid/alkali reagents.