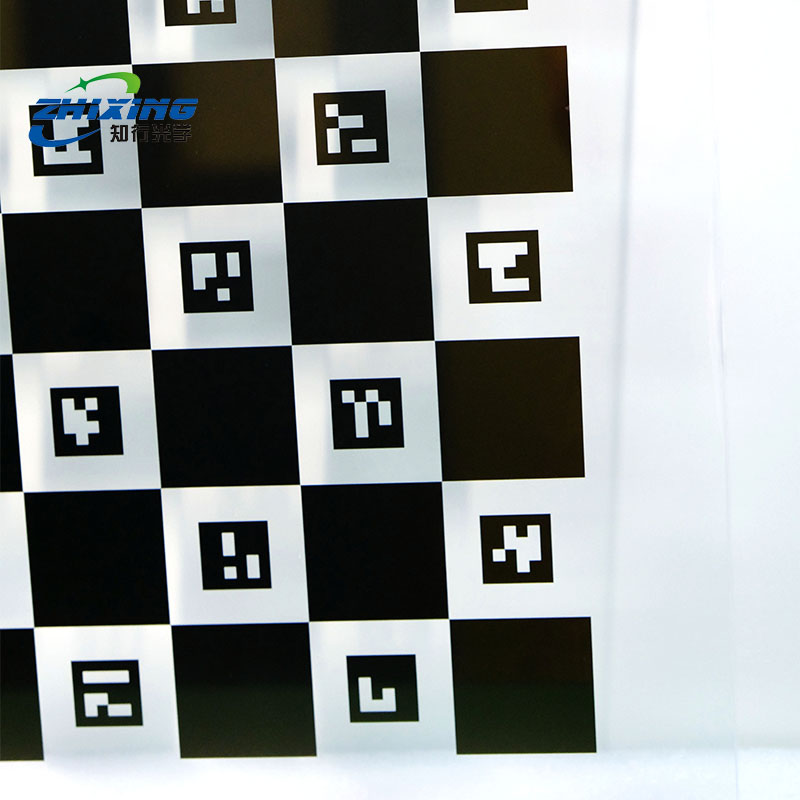
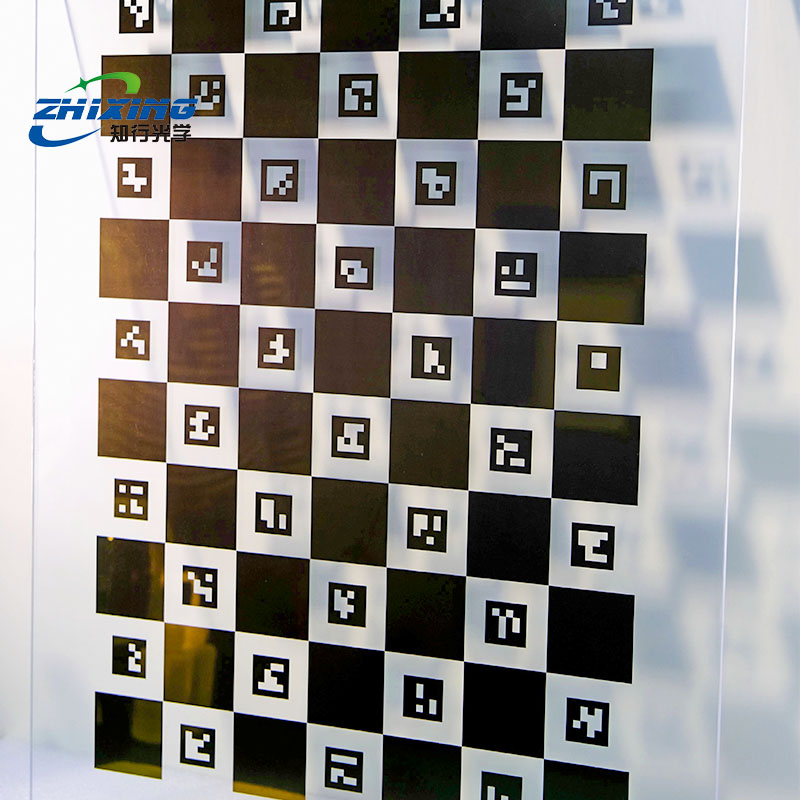
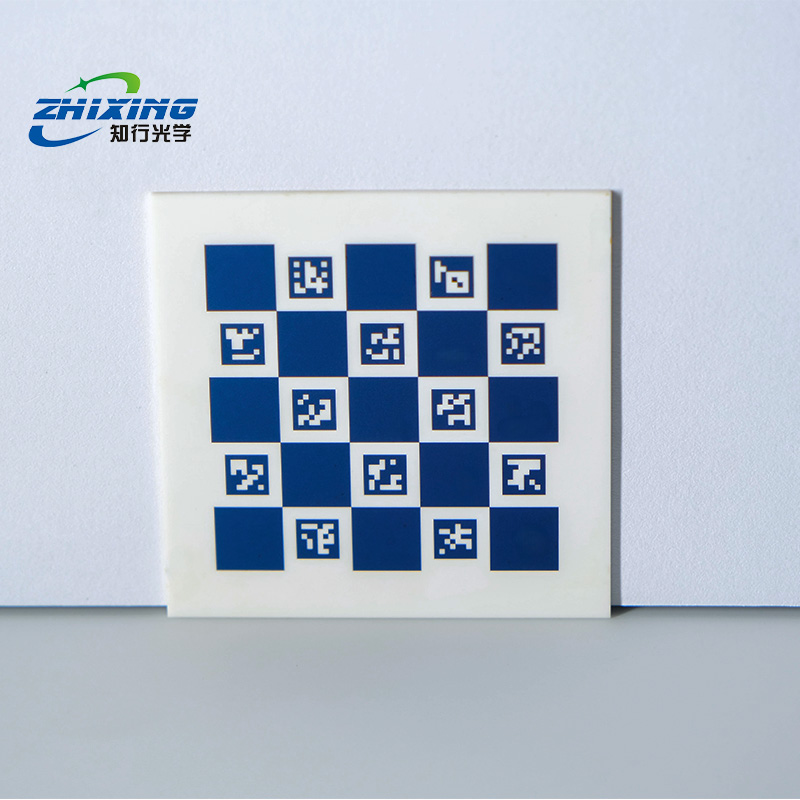
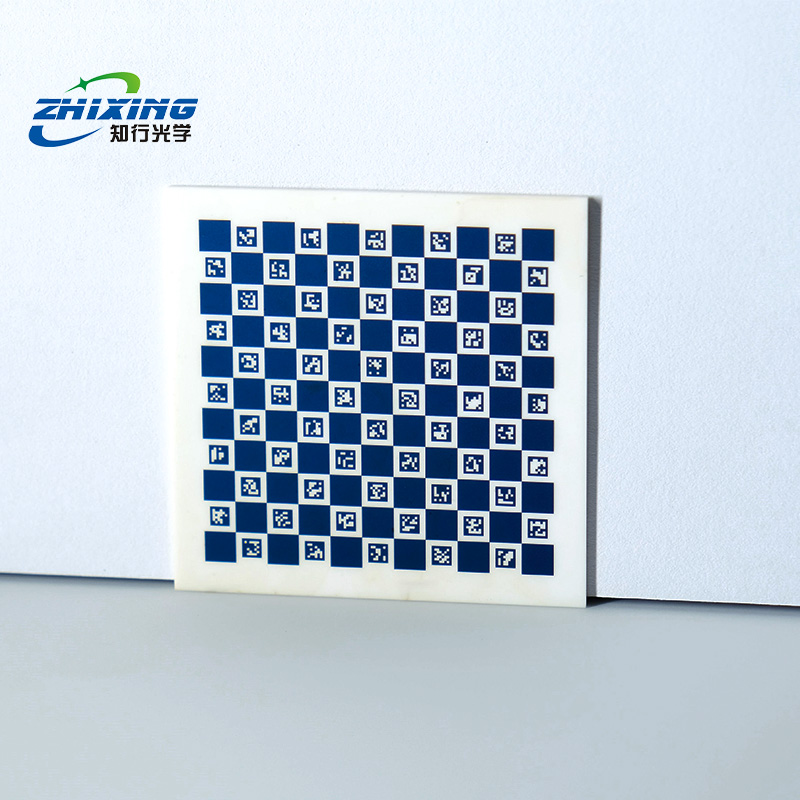
The ChArUco calibration target is currently the industry-standard tool for computer vision, industrial camera intrinsic calibration, stereo 3D ranging, and robotic hand-eye (eye-in-hand / eye-to-hand) calibration. It embeds ArUco markers into a traditional black-and-white chessboard pattern. The algorithm leverages ArUco markers for rapid spatial localization and subsequently extracts chessboard inner corners at black-white intersections, enabling sub-pixel geometric calibration accuracy.
Step 1: Environment Setup & Placement
Absolute Flatness: Mount the ChArUco target on a rigid, high-flatness substrate (e.g., precision optical glass, granite surface plate, or aluminum honeycomb panel). Even minor physical warping will directly cause errors or complete failure in camera distortion parameter calibration.
Uniform Lighting & Glare Avoidance: Ensure even illumination across the entire target surface. Avoid intense point light sources (e.g., direct spotlights) that create localized specular reflections (glint) on the surface, as this causes local saturation of black-white contrast and prevents corner extraction by the algorithm.
Flexible Positioning: Thanks to ChArUco’s robust occlusion tolerance, the target does not need to be fully visible in the frame. Accurate detection is maintained as long as the camera captures a portion of the intact chessboard along with several corresponding ArUco markers.
Step 2: Parameter Configuration
Before feeding images into OpenCV or industrial calibration software, you must record and correctly input the following core physical parameters of the target (all custom products include these specifications on the factory label):
Grid Dimensions: Number of black-and-white squares in horizontal and vertical directions (e.g., Squares X = 5, Squares Y = 7).
Square Size: Absolute physical side length of each black-and-white square (unit: meters [m] or millimeters [mm]).
Marker Size: Absolute physical side length of the embedded ArUco markers.
Dictionary: ArUco encoding library type used (e.g., DICT_4X4_50, DICT_6X6_250).
Step 3: Algorithm Detection & Image Acquisition
In standard computer vision systems (e.g., OpenCV / Python), the calibration workflow typically includes:
Multi-Angle Image Acquisition: Position the target in front of the camera and capture multiple images (typically 15–25 recommended) at varying distances, tilt angles, and orientations.
Pro Tip: Leverage ChArUco’s occlusion tolerance by pushing the target to the four corners and extreme edges of the frame (partial visibility is acceptable). This allows the algorithm to accurately capture severe lens distortion at the periphery—something traditional chessboards cannot achieve.
ArUco Marker Detection: Call the detection function (e.g., cv2.aruco.detectMarkers()) to first locate all visible ArUco markers and their center coordinates within the field of view.
Inner Corner Refinement (Sub-Pixel): Call the ChArUco-specific interpolation function (e.g., cv2.aruco.interpolateCornersCharuco()). The system uses known ArUco positions to precisely localize and extract sub-pixel inner corners at adjacent black-white chessboard intersections.
Step 4: Calibration Computation & Application
Camera Intrinsic Calibration: Call the calibration function (e.g., cv2.aruco.calibrateCameraCharuco()). The system automatically computes the camera intrinsic matrix (focal lengths fx, fy ; principal points cx, cy) and distortion coefficients (radial and tangential distortion).
One-Click Software Correction: Input the computed calibration parameters into image processing software to instantly correct raw images exhibiting "barrel/fisheye" distortion into geometrically accurate, rectilinear standard views.